Lighting a canister stove is an art form, the kind that even the best of us can struggle with. It’s a mix between following strict instructions and fighting against the elements, all while trying not to lose your eyebrows. You see, out there in the wilderness, every mistake is amplified. The wind doesn’t care that you were an honor student in science class or that you can cook a mean spaghetti Bolognese on a regular stove.
What is a Canister Stove?
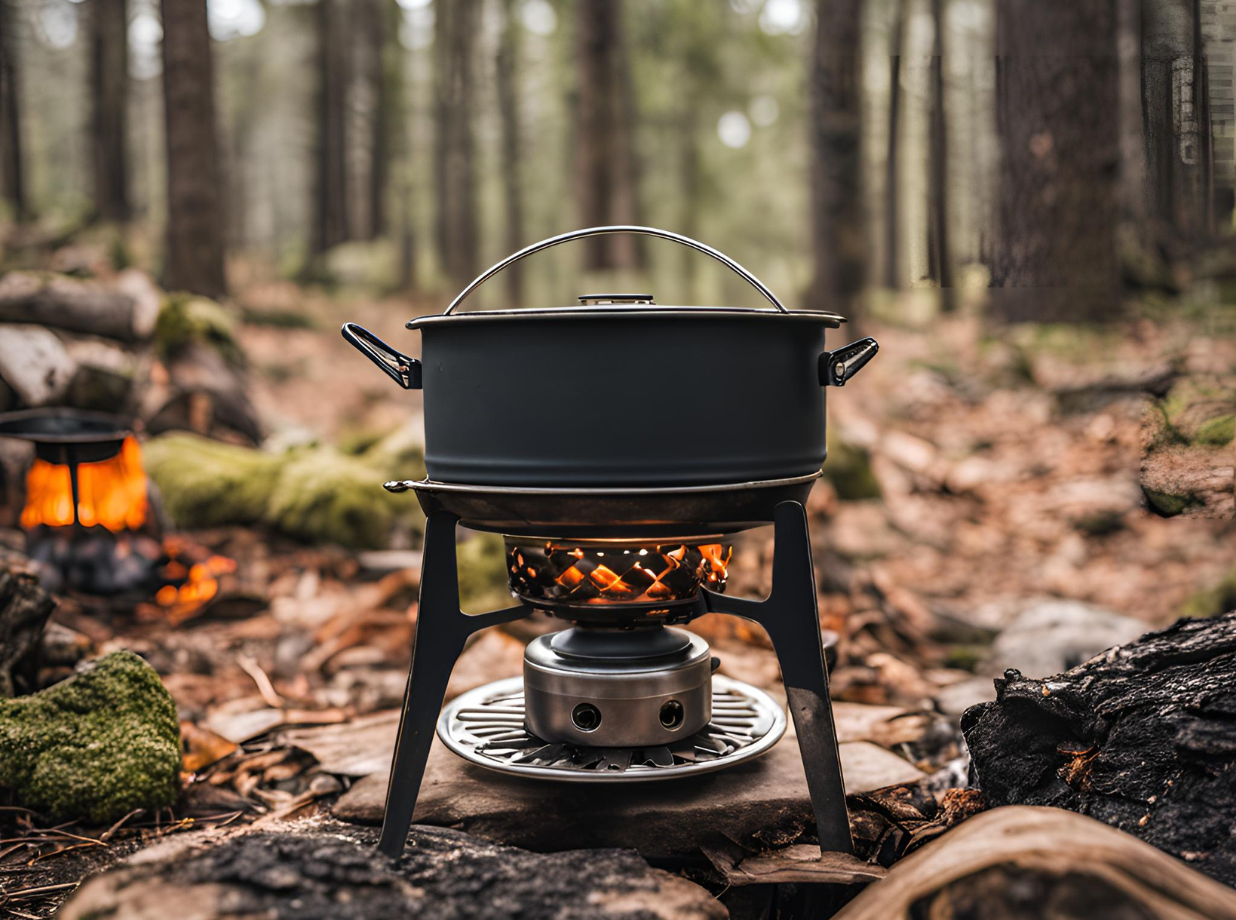
Before we get into the nitty-gritty details of lighting one, let’s take a step back and understand what a canister stove is. It’s a compact cooking device powered by a pressurized gas canister (typically a mix of propane and butane). They’re great for backpacking, camping, and all sorts of outdoor adventures because they’re lightweight, efficient, and relatively easy to use. But—and isn’t there always a but?—they come with their own set of challenges.
The Components: What You’re Working With
- Canister: This is where the fuel is stored. It’s usually metal, about the size of a large coffee can or smaller, depending on your brand and model.
- Stove: This is the apparatus that attaches to your canister. It generally includes a burner head, fuel valve, and sometimes a built-in ignition.
- Ignition Source: If your stove doesn’t come with a built-in ignition, you’ll need a lighter or matches.
Why It’s Awkward
The whole process can be awkward for several reasons:
- Environment: You’re dealing with elements like wind, rain, and unpredictable ground surfaces.
- Awkward Angles: Trying to attach the stove to the canister can feel like solving a Rubik’s Cube.
- Newbie Errors: Things can and do go wrong—like mistaking the fuel valve for the thing that turns on the stove, resulting in a mini explosion.
Getting Started: What You Need
Before you attempt to light your canister stove, make sure you have everything you need. Nothing ruins the fun more than realizing you’ve forgotten a crucial component ten miles into a forest.
Checklist:
| Items | Description |
|---|---|
| Canister Stove | The main piece of equipment you’ll need. Make sure it’s in good condition. |
| Fuel Canister | Choose one that matches your stove. Double-check the expiration date. |
| Matches or Lighter | For ignition purposes—an essential backup even if your stove has a built-in igniter. |
| Wind Shield (Optional) | A handy accessory to protect the flame. Not mandatory, but very useful in windy conditions. |

Step-by-Step Guide to Lighting Your Canister Stove
Alright, gather your courage and let’s jump into how you can light this bad boy without singeing your eyebrows.
Step 1: Choose Your Spot Wisely
Not just any spot will do. Ideally, find a flat, stable, and well-ventilated area away from flammable materials.
- Flat Surface: Stability is key. You don’t want your dinner ending up in your lap.
- Clear Area: No dry leaves, paper, or anything that could catch fire. Because, surprise, fire is hot and it spreads!
Step 2: Attach the Stove to the Canister
This part can be straightforward, but let’s be real, it can also be a comedy of errors.
- Check the Seals: Ensure that both the canister and the stove have intact, clean seals.
- Screw it On: Attach the stove to the canister by screwing it on clockwise until it’s snug. Not gorilla-tight, just snug.
Pro Tip: If you hear a hissing sound after attaching, stop. This indicates a leak. Unscrew it, check the seals, and try again.
Step 3: Open the Fuel Valve
Here’s where you start to feel like a mad scientist. Slowly turn the fuel valve to release the gas. You’ll usually hear a soft hissing sound.
- Slowly Does It: Don’t just crank it open. A slow release of gas is safer and more controlled.
- Position Your Ignition Source: If you’re using matches or a lighter, position it over the burner head before turning on the gas. Be ready because the next step can happen quickly.
Step 4: Ignite the Stove
Now comes the moment of truth. Light your match or lighter and place it near the burner head while simultaneously opening the fuel valve (if you haven’t already).
- Built-in Igniter: If you have a stove with a built-in ignition, press the button. Marvel at modern technology.
- Manual Ignition: If you’re using matches or a lighter, hold your breath (not too close to the gas) and bring it near the burner head.
The flame should ignite almost instantly. If it doesn’t, turn off the gas, wait for a moment, and try again.
Step 5: Adjust the Flame
Once lit, you’ll want to adjust the flame to your desired intensity. This is part skill, part personal preference.
- Higher Flame: For boiling water quickly.
- Lower Flame: For simmering and cooking more complex meals.
Step 6: Begin Cooking
With your stove alight, you’re ready to cook!
- Stability: First, ensure that your pot or pan is stable on the burner.
- Wind Shield: If using, position it to protect your flame.
Common Pitfalls and How to Avoid Them
Missteps can happen even to seasoned pros. Here are some common pitfalls and tips on how to sidestep them.
Over-tightening the Canister
While you want a snug fit, over-tightening can damage the seals or make it incredibly difficult to detach later.
Solution: When attaching the stove, stop as soon as you feel resistance.
Windy Conditions
Wind can make lighting a stove feel like trying to start a fire with a wet match.
Solution: Use a wind shield or find a natural windbreak. Even your backpack can serve as a temporary wind shield.
Running Out of Fuel
This usually happens at the worst possible time, like when you’re halfway through cooking dinner.
Solution: Always carry an extra canister of fuel. Check fuel levels before heading out on your adventure.
Not Enough Ventilation
Cooking inside your tent can seem cozy, but it’s a recipe for disaster with carbon monoxide poisoning risks.
Solution: Always cook in well-ventilated areas. Outside is best.

Safety Tips: Protect Yourself and Your Surroundings
Safety can often feel like the boring part that you can skim through, but trust me, a safe camper is a happy camper.
Fire Safety
- Extinguish Properly: Ensure the flame is completely out after cooking.
- Never Leave Unattended: A burning stove should always be monitored.
Environmental Safety
- Leave No Trace: Ensure you pack out what you pack in. No one loves a litterbug.
- No Scarring: Avoid placing your stove directly on delicate surfaces or vegetation.
Personal Safety
- Keep First Aid: Accidents happen. A small first aid kit can come in handy.
- Burns: Know basic first aid for minor burns. Cool water is your best friend.
The Aftermath: Cleaning and Maintenance
You’ve cooked your meal, survived the ordeal, and now it’s time to pack up. How you clean and store your gear affects its longevity and performance.
Cleaning
- Burner Head: Wipe down any food residue or grease.
- Canister: Check for any leaks or damages.
Storage
- Dry Everything: Make sure all components are thoroughly dry to prevent rust and degradation.
- Safe Storage: Store in a cool, dry place away from direct sunlight or heat sources.

The Joy and Comedy of Trial and Error
Let’s face it, the first time, probably the first few times you try to light a canister stove, it’s going to be a comedy of errors. Embrace it. Laugh at your mistakes, learn from them, and enjoy the process. After all, what’s an adventure without a few bumps along the way?
Tales of Misadventures
I once spent a solid twenty minutes trying to light my stove only to find out I was turning the fuel valve the wrong way. Or there was that time I confidently placed my stove on a mildly slanted rock and watched my saucepan slowly slide off, into the dirt. These stories not only make me laugh now but also remind me that the best lessons are often learned the hard way.
Conclusion: Mastering the Art
Mastering the skill of lighting a canister stove isn’t just about feeding yourself in the wild. It’s about gaining confidence, learning to laugh at your mistakes, and embracing the small victories. So, next time you find yourself struggling to light that pesky stove, remember you’re not alone. And who knows, maybe one day you’ll be the one dishing out advice and sharing your own hilariously awkward stories by the campfire.