Keeping your camping stove in top shape is key for reliable outdoor cooking. This guide will show you how to clean and maintain your camping stove. It will help you make it last longer and work better. These tips are great for both avid campers and those who like to barbecue in their backyard.
By following camping stove maintenance, outdoor cooking gear care, tips for cleaning camping stoves, and how to keep a camping stove in good condition, your cooking gear will always be ready.
Key Takeaways
- Regularly cleaning and maintaining your camping stove is essential for its longevity and performance.
- Proper disassembly, cleaning, and reassembly techniques can prevent issues like clogged fuel lines and carbon buildup.
- Inspecting and replacing worn-out parts can extend the lifespan of your camping stove.
- Storing your camping stove correctly and following maintenance tips can keep it in top condition.
- Troubleshooting common issues can help you quickly resolve any problems with your camping stove.
How to Clean and Maintain Your Camping Stove
Importance of Regular Maintenance
Keeping your camping stove in good shape is key for its best performance and long life. Regular cleaning stops grime, soot, and debris from building up. This keeps the stove working well and safe. By maintaining your stove, you make it last longer, work better, and cook safely on your outdoor trips.
Safety Precautions Before Cleaning
Before cleaning your camping stove, make sure it’s cool and the fuel is off. Don’t clean a hot stove or one still connected to fuel. Also, work in a place with good air flow and wear gloves to protect your skin.
After you’re safe, start cleaning and maintaining your camping stove. Remove tough grime and check for parts that need replacing. These steps will keep your stove ready for your next adventure.
| Step | Description |
|---|---|
| 1. Disassemble the stove | Carefully take the stove apart, following the manufacturer’s instructions, to access all the components that need cleaning. |
| 2. Clean the burner assembly | Remove any built-up grime or carbon deposits from the burner using a wire brush or mild cleaning solution. |
| 3. Inspect and replace parts | Check for worn-out or damaged components, such as the igniter, fuel lines, or O-rings, and replace them as needed. |
| 4. Clean the fuel tank and lines | Flush the fuel tank and lines to remove any accumulated debris or blockages that could affect the stove’s performance. |
| 5. Reassemble the stove | Carefully put the stove back together, ensuring all components are properly aligned and functioning correctly. |
By following these steps and keeping up with maintenance, your camping stove will stay in great shape. It will work reliably and safely for your outdoor adventures.
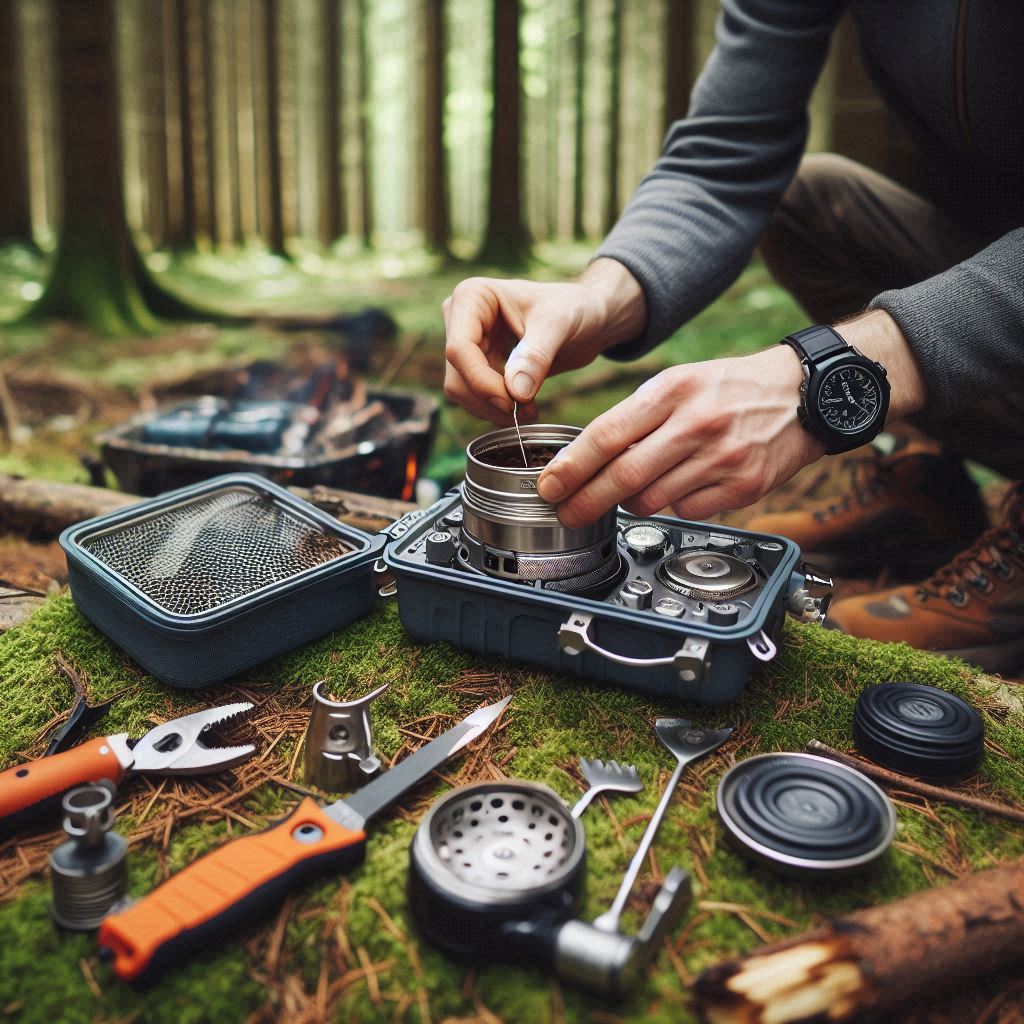
Disassembling Your Camping Stove
First, you need to take apart your camping stove for cleaning and maintenance. This step lets you get to all parts that need cleaning. It makes sure your stove works well. We’ll show you how to disassemble a camping stove for cleaning.
Step-by-Step Disassembly Guide
- Start by making sure the stove is cool and not plugged in.
- Take off the cooking grate or any other attachments and set them aside for cleaning.
- Find the burner assembly and lift it out of the stove. This lets you see inside.
- Remove any screws or fasteners that hold the outer casing together.
- Slowly take apart the stove, like the fuel line, control knobs, and other parts you can remove.
- Put all the parts you took out in a clean, bright place. Make sure you know where each piece goes.
These steps to take apart a camping stove will show you what’s inside. This makes cleaning and checking easier. Be gentle with the parts and look at the manufacturer’s guide if you’re not sure.
| Task | Estimated Time |
|---|---|
| Disassembling a Camping Stove | 10-20 minutes |
“Properly disassembling your camping stove is the first step towards ensuring its optimal performance and longevity.”
Now that the stove is apart, you can clean each part. We’ll guide you on cleaning the burner and other key parts of your camping stove next.
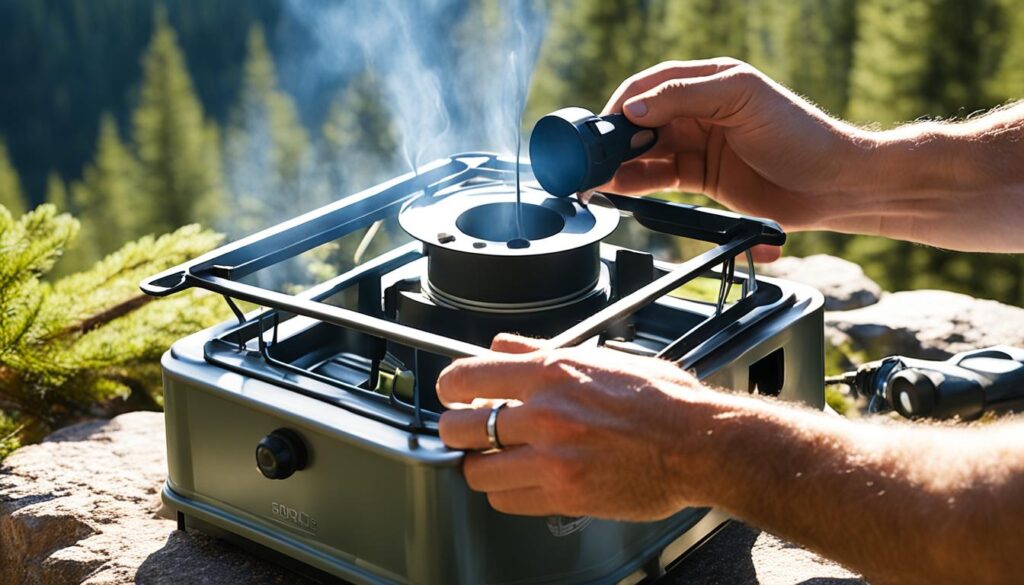
Cleaning the Burner Assembly
Keeping your camping stove in top shape means cleaning the burner assembly often. This part is key for making the flame that cooks your food. If you ignore it, your stove might not work well or could be a safety risk. We’ll show you how to clean camping stove burners and remove stubborn carbon buildup for better performance.
Removing Stubborn Grime and Carbon Buildup
Over time, your camping stove’s burner can get covered in carbon buildup and grime. This can block airflow and make the flame weaker. Here’s how to fix it:
- Disassemble the burner: Carefully take apart the burner unit, following the instructions from the maker.
- Soak in a cleaning solution: Mix a gentle detergent with warm water and let the burner sit for 15-20 minutes. This loosens stubborn grime and carbon.
- Scrub with a soft-bristled brush: Use a clean brush with soft bristles to gently clean the burner. Focus on any blocked or clogged spots.
- Rinse thoroughly: Clean the burner with fresh water to get rid of the cleaning solution and dirt.
- Dry completely: Ensure the burner is dry before putting it back together to avoid moisture problems.
If you’re dealing with stubborn carbon buildup, you might need a mild abrasive cleaner or steel wool. But be careful, as these can scratch the burner if used too much.
By doing these steps, you can clean the camping stove burners well. This will make sure your outdoor cooking goes smoothly.
Inspecting and Replacing Worn-Out Parts
Keeping your camping stove in great shape is key for a safe and fun outdoor trip. When you clean your stove, check all parts closely. Look for any worn-out or damaged parts that need to be replaced.
First, examine the burner assembly well. Check for corrosion, cracks, or wear on the burner, fuel jets, and hardware. If you see any problems, replace these parts to avoid malfunctions or safety issues.
- Look at the fuel line and connections for wear, cracks, or leaks. Replace any damaged parts to keep the fuel system secure and reliable.
- Check the valves and knobs for smooth movement and a good seal. If they’re stiff or loose, replace them to keep the stove’s flame and heat under control.
- Make sure the ignition system, including the spark electrode and wire, works well. Replace any worn-out or broken parts to ensure the stove lights easily and reliably.
| Part | Signs of Wear | Recommended Action |
|---|---|---|
| Burner Assembly | Corrosion, cracks, or general wear and tear | Replace the burner assembly |
| Fuel Line and Connections | Cracks, leaks, or signs of deterioration | Replace the damaged fuel line components |
| Valves and Knobs | Stiffness, looseness, or improper sealing | Replace the valves and knobs |
| Ignition System | Worn-out or malfunctioning spark electrode and wire | Replace the ignition system components |
By checking your camping stove’s parts and replacing any worn-out or damaged ones, you keep your stove safe and reliable. Choose high-quality replacement parts from trusted brands to keep your camping stove working its best.
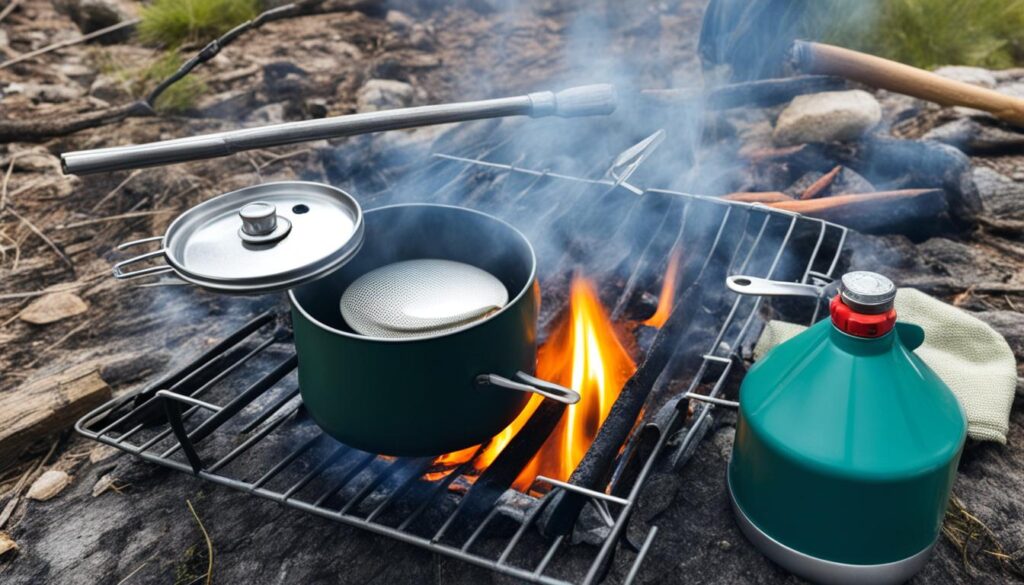
Cleaning the Fuel Tank and Lines
Keeping your camping stove’s fuel tank and lines clean is key for safe use. Regular cleaning stops fuel clogs and leaks. This ensures your stove works well on your outdoor trips.
Preventing Clogs and Leaks
To keep your camping stove running well, follow these steps to clean the fuel tank and lines:
- Disconnect the fuel line from the stove and the tank.
- Look at the fuel tank for any debris, dirt, or buildup. Clean the inside with a soft cloth or brush.
- Flush the fuel tank with some clean camping stove fuel or a tank cleaner. Move the liquid around and then drain it out.
- Maintain the fuel lines by using compressed air to clear them. Make sure they’re free of blockages.
- Reconnect the fuel line to the stove and tank, making sure it’s secure.
Regularly cleaning the camping stove fuel tank and keeping the fuel lines in check stops big problems. This includes fuel clogs and leaks. By doing this, your stove will run smoothly and safely. You can then enjoy your outdoor adventures without worrying about fuel issues.
Reassembling Your Camping Stove
After cleaning and checking your camping stove, it’s time to put it back together. Reassembling your stove is key to making sure it works well and safely for your next trip. Here are easy steps to reassemble your camping stove.
Step-by-Step Camping Stove Reassembly
- Start by putting the burner assembly back into the stove body. Make sure it fits right and is in its spot.
- Attach the fuel line to the burner. It should be connected well and not have any kinks.
- Put the grate or supports over the burner, making sure they’re in the right place.
- If your stove has a windscreen or outer casing, put those back on too. They should line up with the stove body.
- Reconnect parts like the control knobs or igniter, as the maker says to.
- Check all connections to make sure they’re tight and there are no gaps.
The step-by-step process of reassembling a camping stove might change a bit based on your stove model. Always look at the manufacturer’s guide for specific instructions for your stove.
By doing these steps, you can put your camping stove back together with confidence. It will be ready for your next outdoor trip. Making sure it’s put together right is important for safe and efficient use, so take your time and check each step carefully.
Storage and Maintenance Tips
Proper storage and maintenance are key to making your camping stove last longer. Here are some tips to keep your stove in great shape when it’s not in use.
Storing Camping Stoves Properly
Here’s how to store your camping stove:
- Clean the stove well before you store it to get rid of any residue.
- Make sure the fuel tank is empty and clean.
- Keep the stove in a dry, cool spot, away from the sun or extreme heat.
- Use a storage case or bag to keep the stove safe from dust and moisture.
- Don’t put heavy things on top of the stove to avoid damage.
Maintaining Camping Stoves in Storage
Here are some tips for keeping your camping stove in good shape while it’s stored:
- Check the stove for any wear or damage, like cracks or leaks, every now and then.
- Use a light layer of approved lubricant on parts that move, like valves and regulators, to stop them from sticking.
- Look at the fuel lines and connections for any damage and replace them if needed.
- Make sure the igniter or matches work well before your next trip.
By following these tips, you can keep your camping stove in top condition. It will be ready for your next outdoor adventure.
“Proper care and maintenance of your camping stove can significantly extend its lifespan and ensure it’s always ready for your next adventure.”
Troubleshooting Common Issues
Even the best camping stoves can run into problems. Issues like poor ignition, uneven heating, or fuel leaks can happen. Knowing how to fix these common problems is key. We’ll show you how to identify and solve some frequent camping stove issues.
Poor Ignition
If your camping stove won’t light, check the fuel first. Make sure the tank is full and the fuel lines are clear. If it still won’t light, look at the ignition system, like the spark plug and wiring, for damage. Cleaning the burner might also help.
Uneven Heating
Uneven heating can come from a dirty burner, fuel regulator issues, or wind. First, clean the burner for any blockages. Adjusting the fuel flow might also help. If it’s still uneven, you might need to replace parts or move the stove away from the wind.
Fuel Leaks
Fuel leaks are dangerous, so fix them quickly. Check the fuel tank, lines, and connections for damage. Tightening or replacing parts should stop the leak. If it doesn’t work, you might need a professional to check and fix it.
Always put safety first when fixing camping stove problems. If you’re not sure how to solve an issue, look at the manufacturer’s guide or ask an expert outdoorsman.
Conclusion
Keeping your camping stove in top shape is all about regular cleaning and care. This guide has shown you how to keep your outdoor cooking gear safe and efficient. Cleaning the burner and replacing old parts are key steps to make your stove last longer.
Looking after your camping stove is crucial for safety and function. Regular cleaning stops dirt and harmful substances from building up. This keeps your stove working right and safe from fires. By caring for your stove, you’ll feel secure on all your outdoor trips.
When you go camping next, remember the advice from this article. With some effort and focus, your camping stove will stay in great shape. It will cook your meals well and reliably, wherever you go. Enjoy cooking outside with the knowledge that your stove is ready for anything.
Frequently Asked Questions
What are the key steps to cleaning and maintaining a camping stove?
Start by taking apart the stove. Then, clean the burner assembly. Check and replace any worn-out parts. Don’t forget to clean the fuel tank and lines. Finally, put everything back together right. Remember, regular care and storage are key to keeping your stove in top shape.
Why is regular maintenance important for a camping stove?
Keeping your camping stove clean and maintained is crucial for its performance and lifespan. It helps avoid problems like poor ignition, uneven heating, and fuel leaks. This ensures you can cook reliably on your outdoor trips.
What safety precautions should I take when cleaning a camping stove?
Always disconnect the fuel before cleaning your camping stove. Make sure it’s cool and work in a well-ventilated area. Follow the maker’s cleaning instructions and be careful with each part.
How do I disassemble a camping stove for thorough cleaning?
First, read the manufacturer’s guide on how to take apart your camping stove. Remove the burner, grates, and other parts you can take out. This lets you clean all parts well. Remember how they fit together for easy reassembly.
What’s the best way to clean the burner assembly on a camping stove?
Start by removing tough grime or carbon with a soft brush or mild detergent. Don’t use harsh materials that could harm the burner. After cleaning, dry everything well before putting it back together.
How do I inspect and replace worn-out parts on my camping stove?
Look over all your camping stove parts during cleaning. Check for wear, damage, or decay. Replace any parts that don’t work right. Use the manufacturer’s advice for the right replacement parts for a good fit and function.
How do I clean the fuel tank and lines on a camping stove?
First, turn off the fuel and let the stove cool. Clean the tank and lines with a brush or cloth. Check for clogs or leaks and fix them to prevent safety problems.
What are the steps to properly reassemble a camping stove?
Reassemble your camping stove as the maker suggests. Put back the burner, grates, and other parts in the right order. Make sure everything fits well and take your time to avoid mistakes.
How should I store my camping stove when not in use?
Clean and dry all your camping stove parts before storing. Keep it in a cool, dry spot away from sunlight or moisture. Use the manufacturer’s storage tips and consider a protective case to keep it in great condition.
What are some common issues that can arise with a camping stove, and how do I troubleshoot them?
Issues like poor ignition, uneven heating, fuel leaks, and clogs can happen. Fix these by checking the fuel, cleaning the burner, inspecting for damage, and making sure everything’s put back right. Use the manufacturer’s guide for specific fixes.

